
Table of Contents
- How to Set Up Backyard Sauna: Planning and Permits
- Outdoor Sauna Site Preparation and Location
- Building the Backyard Sauna Foundation
- Framing, Walls, Roof, and Interior Assembly
- Outdoor Sauna Electrical Requirements and Heater Selection
- Ventilation, Insulation, and Weatherproofing
- Backyard Sauna Cost and Budget Planning
- First-Use Safety Checks and Maintenance
- Frequently Asked Questions
Last Updated: October 11, 2026
How to Set Up Backyard Sauna: Planning and Permits
To set up backyard sauna properly requires more than just picking a location and assembling a structure. Before you dig into the foundation or order materials, you need to understand local rules. Many homeowners skip this step and face costly setbacks later.
Check Local Zoning and Building Codes
Your local building department controls whether you can build a sauna on your property. Most jurisdictions require a permit for any permanent structure, including saunas. The rules vary significantly by location, so contact your local building inspector before purchasing materials or breaking ground.
Building codes typically cover:
- Foundation requirements and depth
- Electrical safety standards
- Ventilation and airflow minimums
- Interior clearances and ceiling height
- Materials that meet fire safety standards
Many areas classify saunas as accessory structures, which may have different rules than primary buildings. Some jurisdictions allow smaller saunas without a full permit if they meet specific size limits.
Verify Setbacks and Clearances
Setback requirements dictate how far your sauna must sit from property lines, your home, and other structures. These distances protect neighbors and ensure emergency access. Typical setback requirements range from 3 to 10 feet from property lines, though some areas are stricter.
Check your local zoning code for:
- Distance from property line
- Distance from your house or other buildings
- Distance from overhead power lines (usually 10 feet minimum)
- Distance from septic systems or wells
- Any restrictions on structures in front yards
Ignoring setbacks creates legal problems. Your neighbor can force you to remove the sauna even after you’ve built it. The cost of relocation far exceeds the time spent checking setbacks upfront.
Outdoor Sauna Site Preparation and Location
The location you choose determines whether your sauna functions well for years or develops problems within months. Poor drainage, unstable ground, or difficult access creates ongoing maintenance headaches. Spend time evaluating your yard before committing to a spot.
Assess Drainage and Ground Stability
Water is the enemy of any outdoor structure. Saunas generate moisture inside, and rain and snow add water from outside. If water pools around your sauna’s base, rot and mold develop quickly.
Look for these drainage signs:
- No puddles or wet spots after rain
- Slight slope away from the sauna location
- Soil that dries within a few hours of rainfall
- Distance from downspouts and gutters
Test the ground stability by walking the area. Soft, spongy soil indicates poor drainage. Hard, compacted soil is better. If your yard has clay soil that holds water, you’ll need to improve drainage with gravel or a drainage system before building.
Measure Space and Plan Access
A standard sauna needs more space than just its footprint. You need room for the door to open fully, space to move around the exterior for maintenance, and clearance for ventilation.
Consider these practical spacing needs:
- Door swing radius (usually 3-4 feet in front)
- Access for repairs to the roof and exterior
- Distance from trees (avoid overhanging branches)
- Path from your house to the sauna
- Room for a cold plunge or changing area nearby
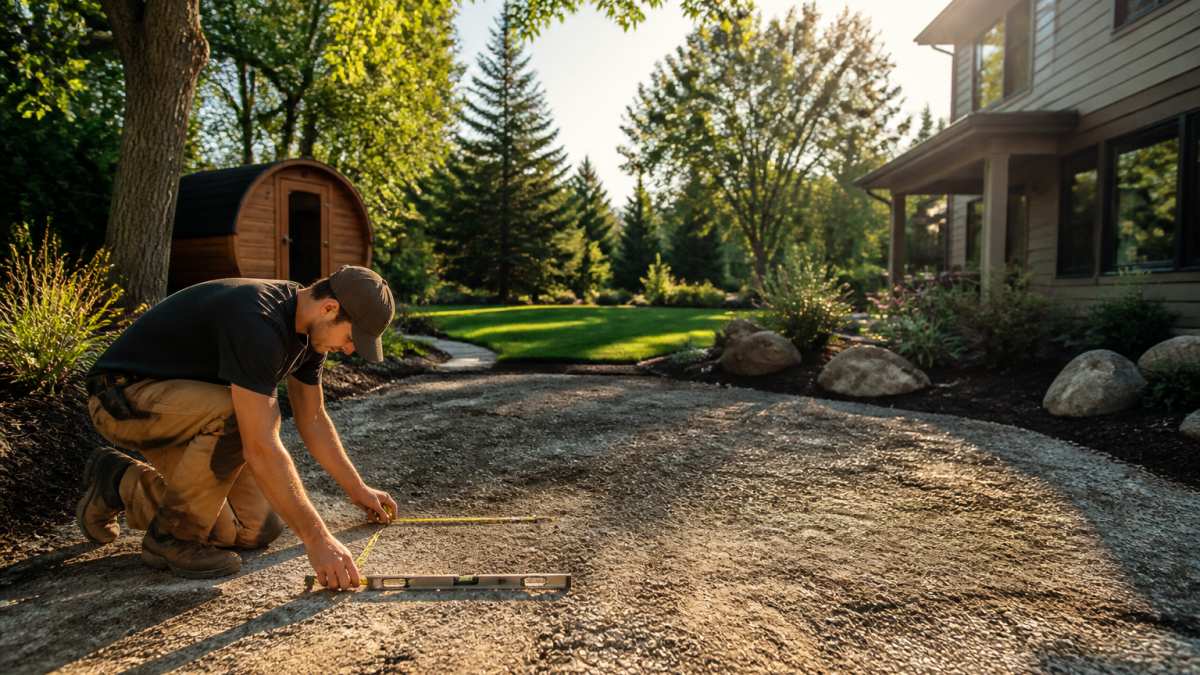
Measure your chosen spot multiple times. Mark it with stakes and string so you can visualize the actual footprint. Walk around it to confirm the access feels natural. A sauna tucked in an awkward corner becomes a hassle to use and maintain.
Building the Backyard Sauna Foundation
The foundation determines how long your sauna lasts. A poor foundation leads to settling, cracking, and structural failure. The good news: foundation work is straightforward if you follow proven methods.
Foundation Options: Concrete, Gravel, and Pavers
Three main foundation types work for backyard saunas. Each has trade-offs in cost, durability, and installation difficulty.
Concrete pad is the most durable option. A 4-inch concrete slab provides a stable, long-lasting base that handles freeze-thaw cycles well.
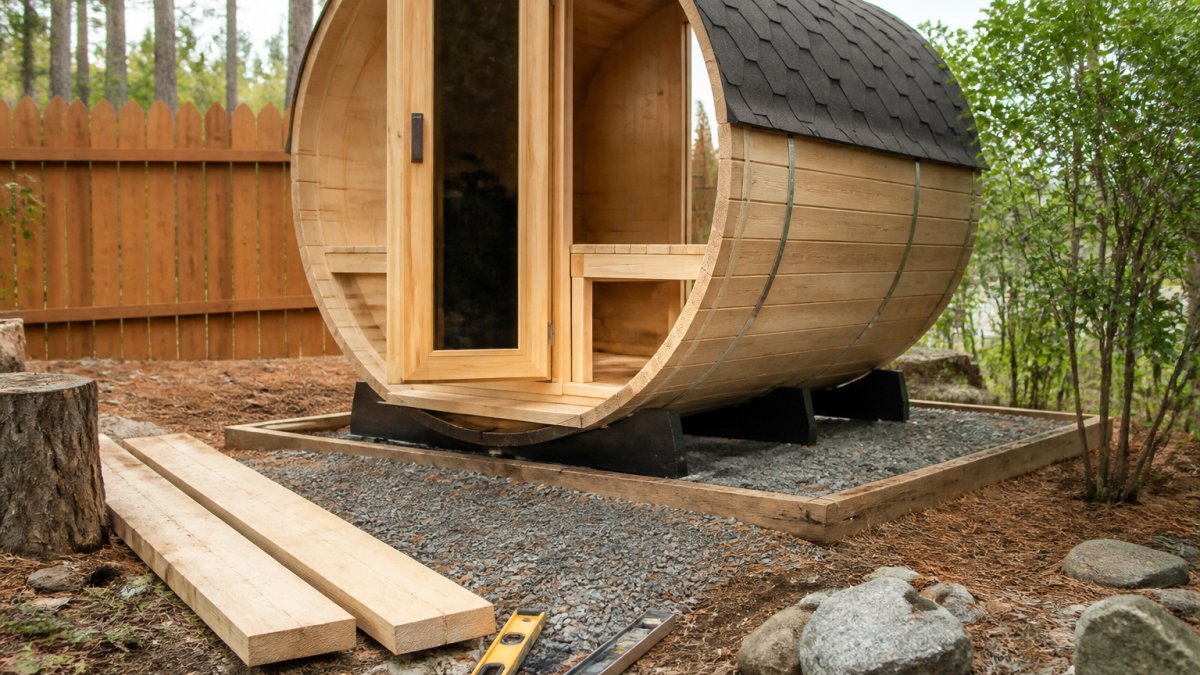
Gravel base is the budget option.
Patio pavers offer a middle ground. Interlocking pavers laid on a compacted gravel base provide a level surface with good drainage.
Preparing and Leveling the Base
Whatever foundation type you choose, proper preparation is essential. An unlevel base causes doors to stick, gaps to form between panels, and water to pool in corners.
Start by removing grass and topsoil from the entire foundation area, going 6-8 inches deep. Compact the exposed soil with a hand tamper or plate compactor.
This step takes patience but prevents problems later. A sauna that sits on an uneven base will shift and crack as the seasons change.
Framing, Walls, Roof, and Interior Assembly
Once the foundation is ready, the actual sauna assembly begins. Most modern backyard saunas come as kits with pre-cut panels, making assembly faster than building from scratch.
Assembling the Sauna Structure
Begin by unpacking all materials and checking them against the kit’s parts list. Lay out the base frame components on your foundation and assemble the bottom rails according to the manufacturer’s instructions. Most kits use bolts or heavy-duty fasteners to connect the frame.
The assembly process typically follows this order:
- Assemble and level the base frame
- Install corner studs and wall panels
- Attach wall panels with fasteners
- Install the roof frame and roof panels
- Attach the door frame and door
- Install interior benches and railings
- Add insulation and interior lining (usually cedar or pine)
Each step requires checking for square and level. Use a carpenter’s square to ensure corners are 90 degrees. Walls that aren’t square will cause the roof to sit unevenly and may allow water to leak.
Installing Flooring and Interior Lining
The interior of a sauna takes a beating from heat and moisture. Traditional sauna flooring uses wooden slats spaced slightly apart to allow water drainage.
Interior lining typically uses heat-resistant wood like cedar or hemlock. This wood resists rot and smells pleasant when heated.
Benches should be sturdy and made from heat-resistant wood. Space bench slats to allow drainage. Sand all interior surfaces smooth to prevent splinters on bare skin.
Outdoor Sauna Electrical Requirements and Heater Selection
The heater is the heart of your sauna. Choosing the right heater type and ensuring safe electrical installation are critical decisions that affect both performance and safety.
Electric vs. Wood-Fired Heaters
Electric heaters are convenient and precise. They heat quickly, maintain consistent temperature, and require no fuel storage.
Wood-fired heaters create an authentic sauna experience. They heat more slowly but provide superior heat quality and the ritual of tending a fire. Wood-fired heaters work anywhere without electrical infrastructure.
For most residential backyards, an electric heater offers the best balance of convenience and performance. For those seeking tradition or without reliable electrical service, wood-fired is the classic choice.
Electrical Installation and Safety
Electric sauna heaters require 240-volt service in most cases. This is the same voltage that powers your dryer or air conditioner. Never attempt to install high-voltage electrical work yourself. Hire a licensed electrician to:
- Run a dedicated circuit from your electrical panel to the sauna
- Install a properly sized breaker (usually 30-60 amps depending on heater wattage)
- Install a disconnect switch at the sauna entrance
- Ground all electrical components correctly
- Inspect the work and pull a permit
A licensed electrician ensures your installation meets code and is safe. The cost of professional installation (typically $500-$1,500) is far less than the risk of electrical fire or shock.
Ventilation, Insulation, and Weatherproofing
A sauna without proper ventilation becomes a moisture trap. Excess humidity damages wood, promotes mold, and makes the sauna uncomfortable.
Install an intake vent near the floor and an exhaust vent near the ceiling.
Insulation in walls and ceiling reduces heating time and operating costs.
Weatherproofing includes a solid roof with proper pitch to shed water, sealed seams, and trim around the door. Cedar or pressure-treated wood exterior resists weather well.
Backyard Sauna Cost and Budget Planning
Understanding the full cost of your sauna project helps you plan realistically and avoid surprises. Costs vary widely based on size, materials, and whether you hire professionals for certain tasks.
Material and Equipment Expenses
A quality sauna kit typically costs between $3,000 and $8,000 depending on size and features. Smaller kits (around 6 by 8 feet) sit at the lower end, while larger or premium kits cost more.
Foundation work adds $500 to $2,000 depending on the type. Concrete pads cost more than gravel but last longer. Electrical installation by a licensed electrician runs $500 to $1,500. Permits and inspections typically cost $100 to $500.
Additional expenses include:
- Interior accessories like towel racks and shelving ($200-$500)
- Weatherproofing and sealants ($200-$400)
- Tools you may need to rent or buy ($100-$300)
- Delivery fees for kits ($200-$500)
Operating and Maintenance Costs
Electric heaters consume significant power during use. A typical session heats the sauna for 30-45 minutes, then runs the heater for 1-2 hours per week during regular use. Monthly operating costs typically range from $20 to $50 depending on local electricity rates and usage frequency.
Wood-fired heaters have fuel costs instead of electricity. A cord of firewood costs $150-$300 and lasts 15-20 sessions depending on wood type and weather. Ash disposal is minimal but requires a shovel and bucket.
Annual maintenance includes:
- Inspecting and sealing exterior wood ($100-$300)
- Cleaning vents and checking electrical connections ($50-$150)
- Replacing worn interior slats or benches ($200-$500 as needed)
First-Use Safety Checks and Maintenance
Before your first sauna session, perform a complete safety check. This ensures everything works properly and identifies any issues before they become problems.
Walk through this checklist:
- Foundation is level and stable with no cracks
- All walls are square and secure with no gaps
- Door closes and seals properly without sticking
- Roof has no leaks (check after rain)
- Electrical connections are tight and dry
- Heater powers on and reaches temperature
- Vents open and close smoothly
- Interior benches are secure and splinter-free
- Flooring is level with proper drainage gaps
Run the heater for 15-20 minutes and check for any unusual sounds or smells. Let it cool completely before your first session.
Ongoing maintenance keeps your sauna safe and functional. Check the exterior annually for damage or rot. Inspect the roof after storms. Clean vents seasonally to prevent blockage.
Setting up a backyard sauna is a rewarding project that transforms your home into a wellness retreat. If you’re interested in experiencing a professionally installed sauna without the DIY commitment, Steam City Sauna offers white-glove sauna rental delivery with complete setup and maintenance included.
Frequently Asked Questions
What kind of foundation does a backyard sauna need?
A backyard sauna foundation must be level, stable, and capable of supporting 3,000 pounds or more. Concrete pads, gravel bases, crushed concrete, or patio pavers all work well. The key is ensuring proper drainage to prevent water pooling and structural settling. Most DIY setups use a 4-6 inch gravel base or concrete pad. Level the surface carefully before placement to prevent sauna shifting or damage over time.
Does a backyard sauna need electricity?
This depends on your heater type. Wood-fired saunas need no electricity, only a safe chimney and proper ventilation. Electric heaters require a dedicated circuit, typically 30-50 amps at 240 volts, installed by a licensed electrician to meet code. Wood-fired options offer independence from electrical infrastructure but require regular firewood supply and chimney maintenance. Electric heaters provide convenience and easier temperature control.
How much space do I need for an outdoor sauna setup?
Most backyard saunas require a footprint of 4 x 6 feet to 6 x 8 feet, depending on interior dimensions and seating capacity. Plan for at least 3-5 feet of clearance on all sides for ventilation, maintenance, and safety. Consider access routes for delivery trucks and pathways from your home. Account for a changing area or nearby shelter if possible. Check local setback requirements, which typically mandate 5-10 feet from property lines and 10+ feet from structures.
What permits or approvals do I need to build a backyard sauna?
Permit requirements vary by location and depend on sauna type, size, and electrical work. Most jurisdictions require building permits for permanent structures; some allow exemptions for small temporary structures. Check with your local building department for zoning restrictions, setback distances, and whether electrical permits are mandatory. Wood-fired saunas may need chimney or fire safety approval. Permanent installations typically require inspections. Hiring a licensed electrician ensures code compliance if you choose an electric heater.